2025 June 2,
The third part of CS 311 deals with a different algorithm: ray tracing. A thorough treatment would take many weeks, but we can learn at least the basics in a couple of weeks. We definitely see how ray tracing can produce results that, compared to triangle rasterization, are more realistic and more computationally costly.
You may continue to work solo or with a partner. Let me know if you change the status quo. Except where otherwise noted, each homework assignment is due at the start of the next class meeting. Remember our late policy: If you don't have an assignment finished on time, then don't panic, but do e-mail me about it.
Today we implement the core algorithm of ray tracing, specialized to the case in which all scene bodies are spheres of uniform color. Because of the exam on Day 23, this work is due on Day 24.
650ray.c: Study. This file grows over time.
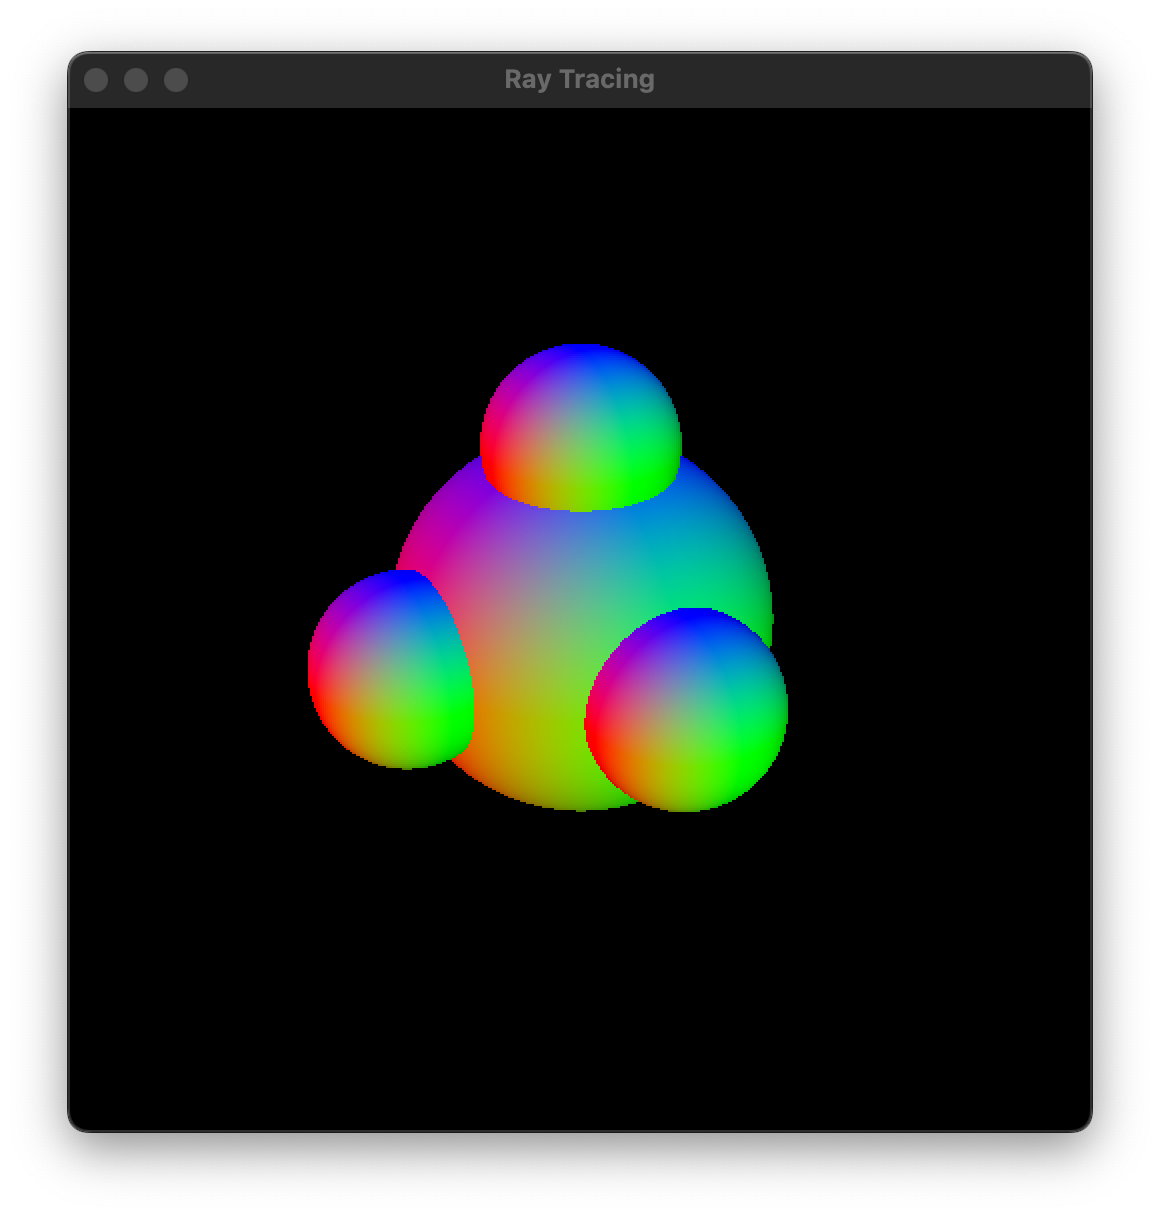
650mainSpheres.c: Study what's there. Implement getIntersection, getting the sphere's center from its isometry. Use that function to implement getSceneColor. (In class, I presented that algorithm as building up a list of results. The truth is that you need store only two results: the current one, and the best one so far.) The render function is a skeleton, with three chunks for you to implement. My implementation is greatly helped by my thorough understanding of 300isometry.c and 300camera.c. When it is working, the running program should look like the screenshot below. The user interface lets the user switch between perspective and orthographic cameras, so make sure that both of those work.
Clean up and hand in 650mainSpheres.c on the COURSES file server. Also make sure that your 300isometry.c and 300camera.c are there.
No new work is assigned today, because of the exam. Remember that the Day 22 work is due on Day 24.
Today we introduce an abstraction for a body in the scene. Any shape can be plugged into a body. Today's shapes are spheres and half spaces. Next time we handle intersections of shapes too.
In this section, we rework our simple sphere scene, so that it consists of bodies (that happen to be spheres).
660ray.c: Study.
660body.c: Study.
660sphere.c: Study. You need to implement sphGetIntersection. I recommend that you copy and paste your basic intersection code from 650mainSpheres.c. Then add code to compute the texture coordinates and world normal when needed. At some point, you need to transform from global to local coordinates, rather than just relying on the rotational symmetry of the sphere, because the texture coordinates are not rotationally symmetric.
660mainBody.c: In a copy of 650mainSpheres.c, update the #include statements. Rewrite the program to produce exactly the same imagery, but using sphere bodies. Concretely, delete the getIntersection function. Replace the four isometries and four radii with one array of four bodies, which you initialize and configure in initializeArtwork (and finalize elsewhere). In getSceneColor, loop over the array of bodies, calling bodyGetIntersection on each one, to find the winning body. Test. You should have the same imagery as you did earlier.
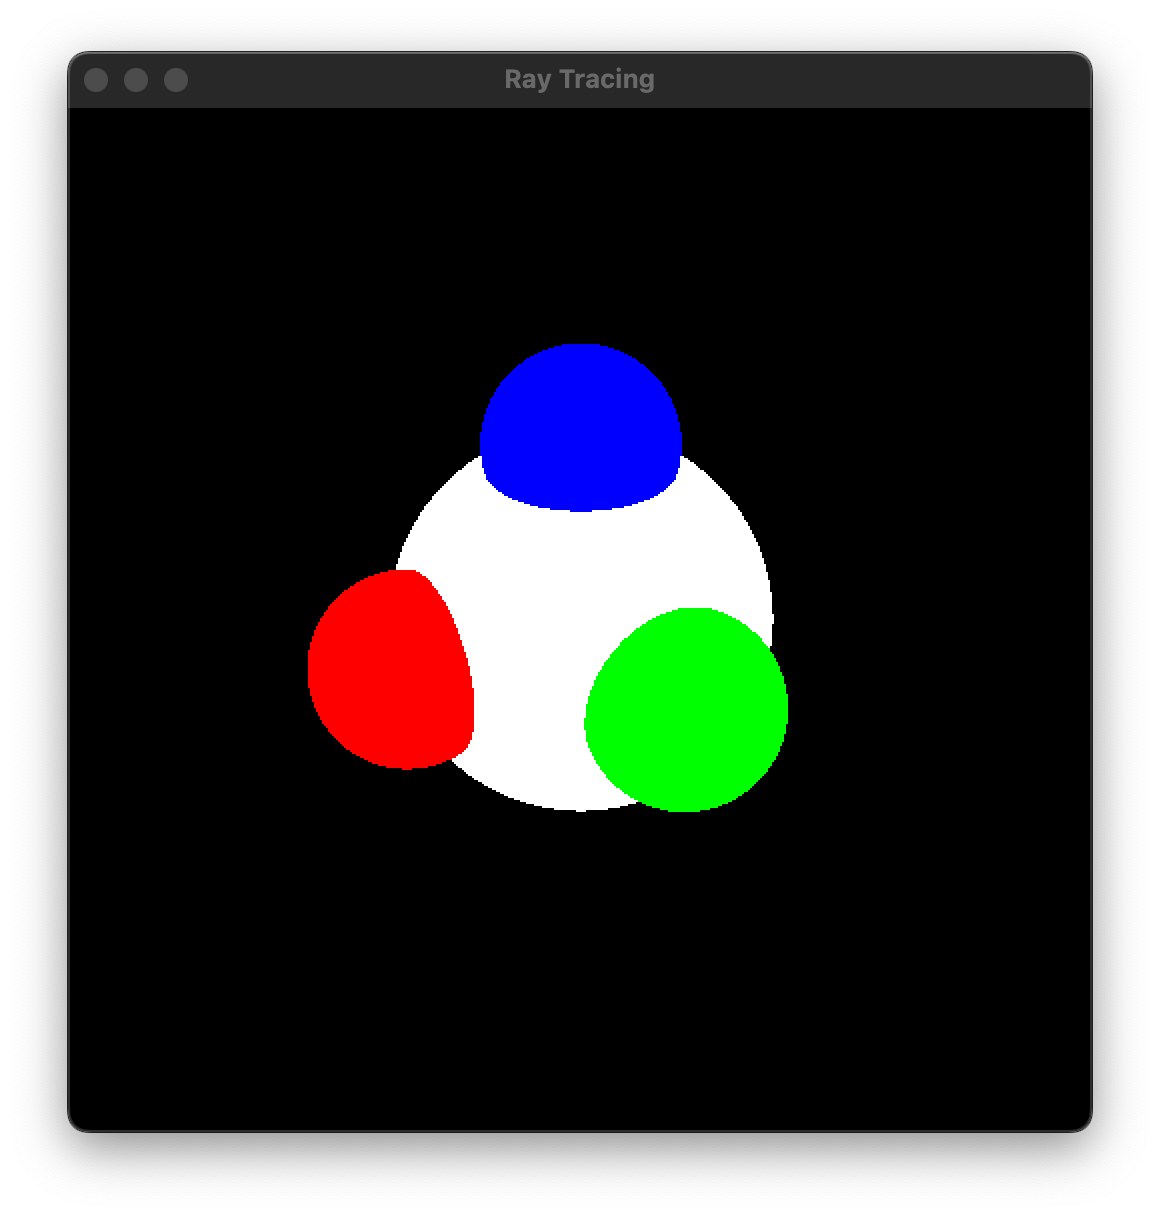
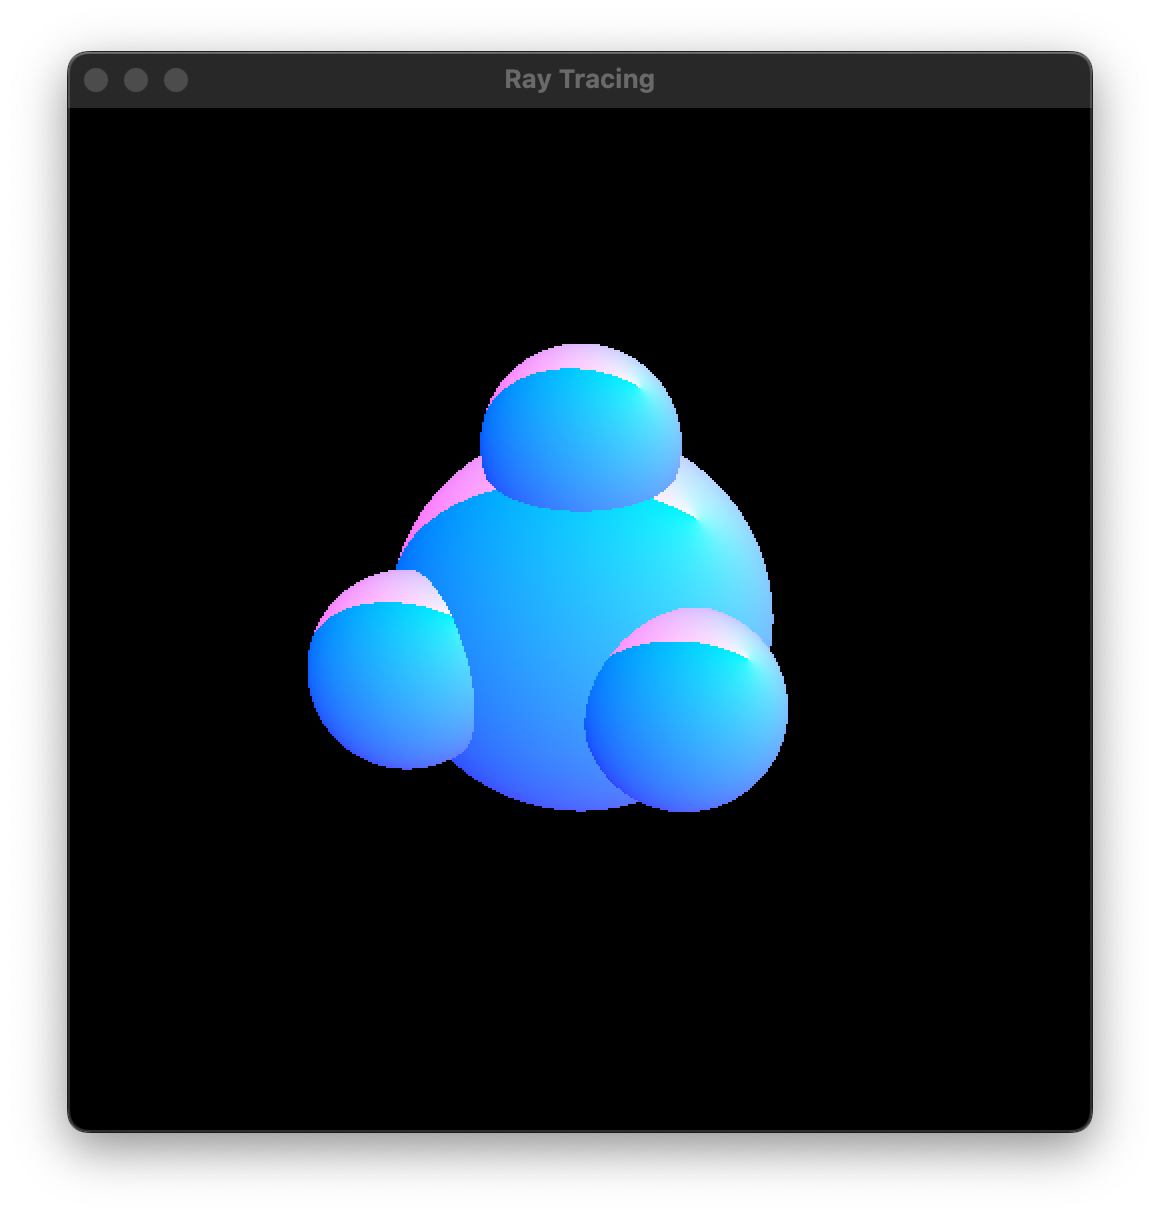
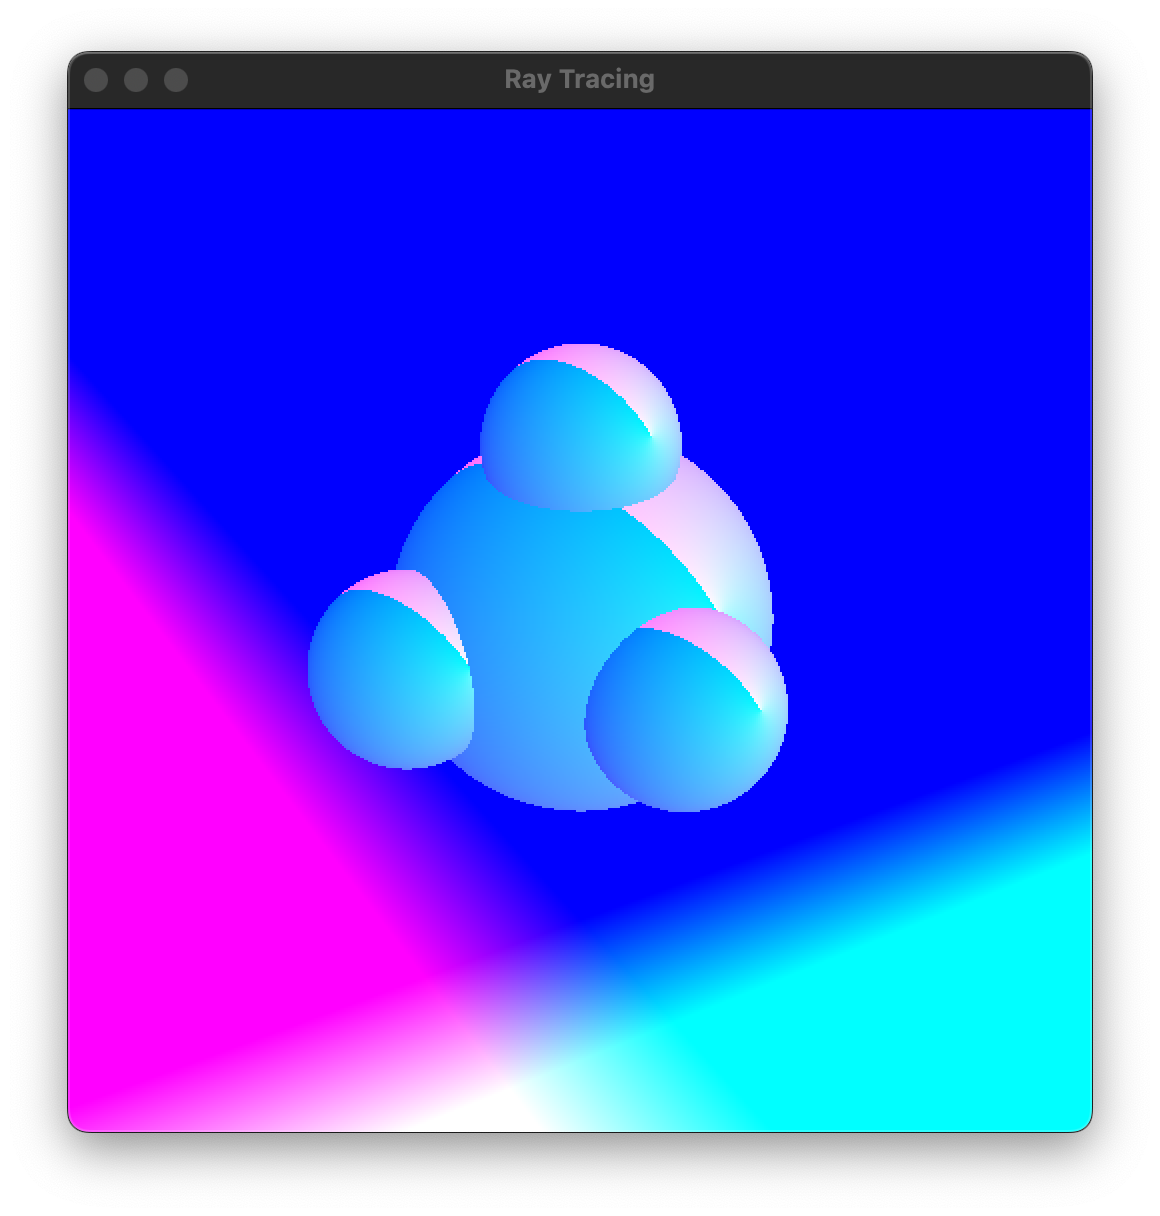
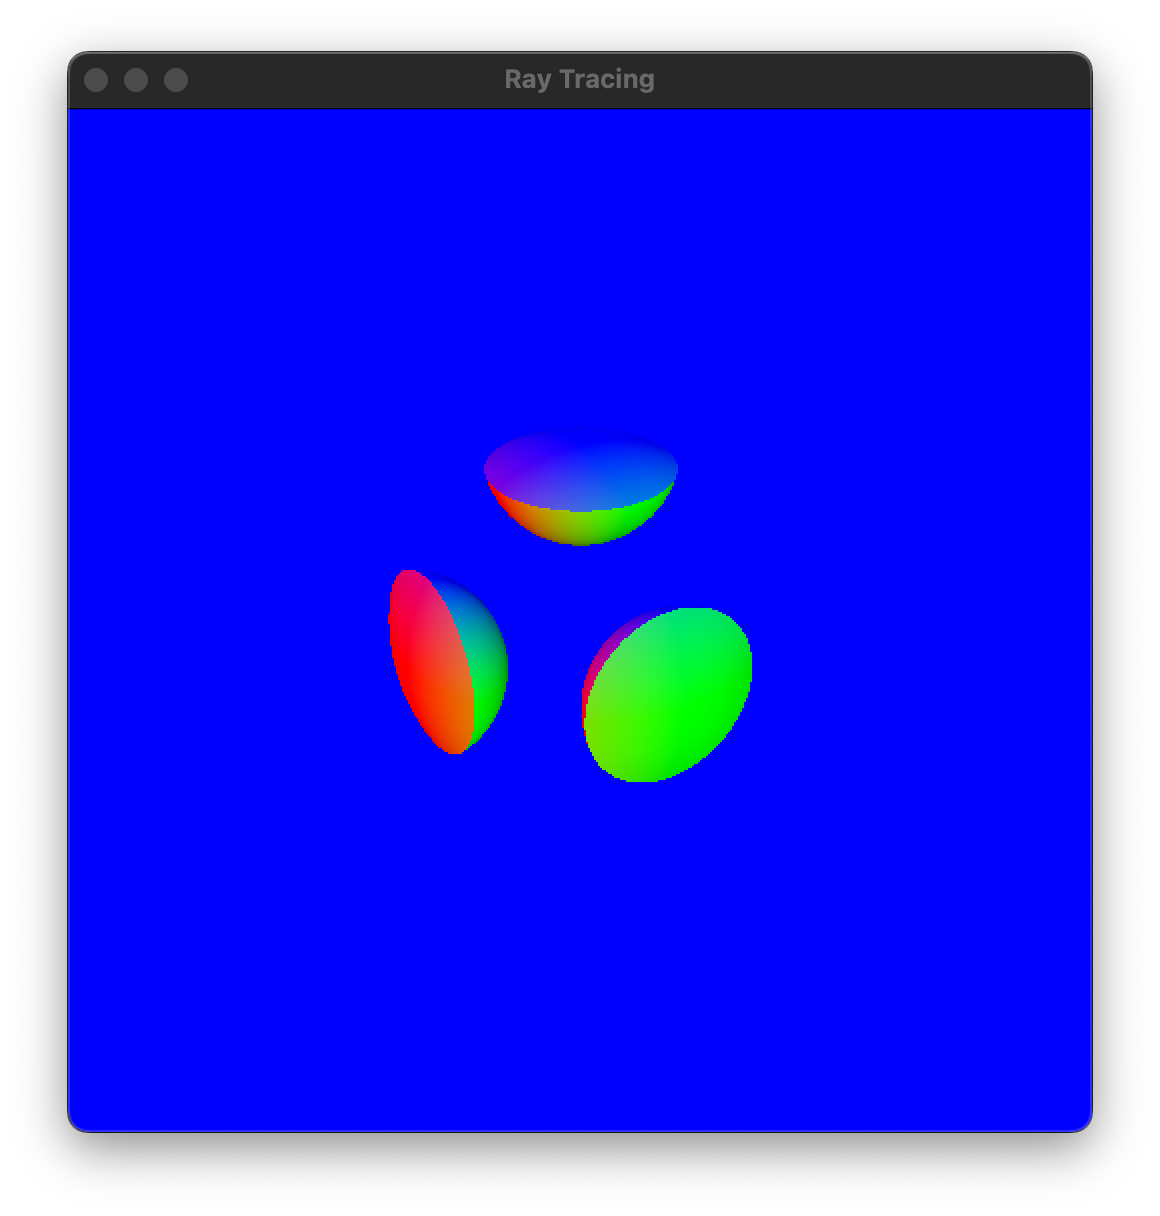
660mainBody.c: Delete the four colors. In getSceneColor, once you have the winning body (if any), make the outgoing pixel color in a way that tests whether the texture coordinates and normal are working correctly. If you use the texture coordinates and 1 as the outgoing color, then your results should look like the screenshot below left. If you use the normal as the outgoing color, then your results should look like the screenshot below right.
Thus far, the body abstraction hasn't really benefited us. It has just made rendering spheres more complicated. In this section, we start to see its value: Our scene can consist of bodies of various shapes, rendered by consistent, clean code.
670half.c: Make a copy of 660sphere.c. Rename the two identifiers to start with half instead of sph. The data size should be 0. Replace the function implementation with one appropriate for a half space. Specifically, the half space is defined by Z ≤ 0 in its local coordinates, and its texture coordinates are simply its local X and Y.
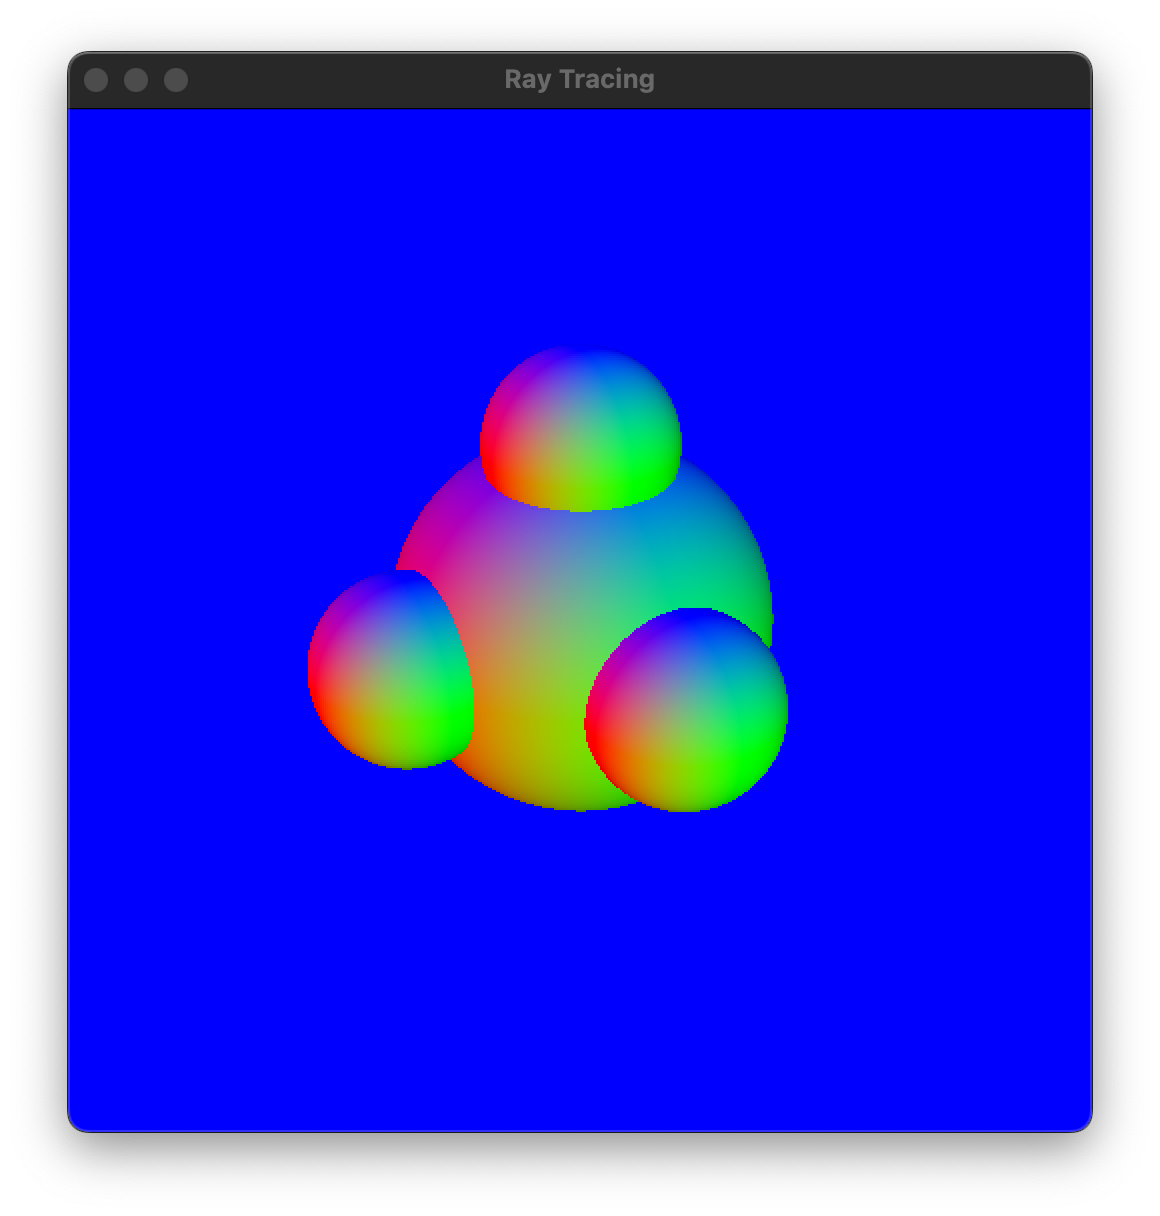
670mainHalf.c: In a copy of 660mainBody.c, add a fifth body to the body array. Make it a half space floating beneath the four spheres, colored in the same arbitrary manner as the spheres. Change the time step handler so that the half space does not rotate. Here are two versions of mine:
In the usual way, clean up and hand in 660sphere.c, 660mainBody.c, 670half.c, and 670mainHalf.c.
Today we implement our last kind of shape. We also introduce an abstraction for the material of a body.
Here's another kind of shape: the setwise intersection — in other words, the logical AND — of two shapes. By compounding AND bodies together, you can make arbitrarily complicated intersections. This is as far as we go into constructive solid geometry.
680and.c: Make a copy of 660sphere.c or 670mainHalf. Rename the two identifiers to start with and. The data size should be (2 * sizeof(bodyBody *)). Replace the function implementation with one appropriate for an AND. The following code snippet might help.
bodyBody **bodies = (bodyBody **)shapeData;
bodyGetIntersection(bodies[0], ...);
bodyGetIntersection(bodies[1], ...);
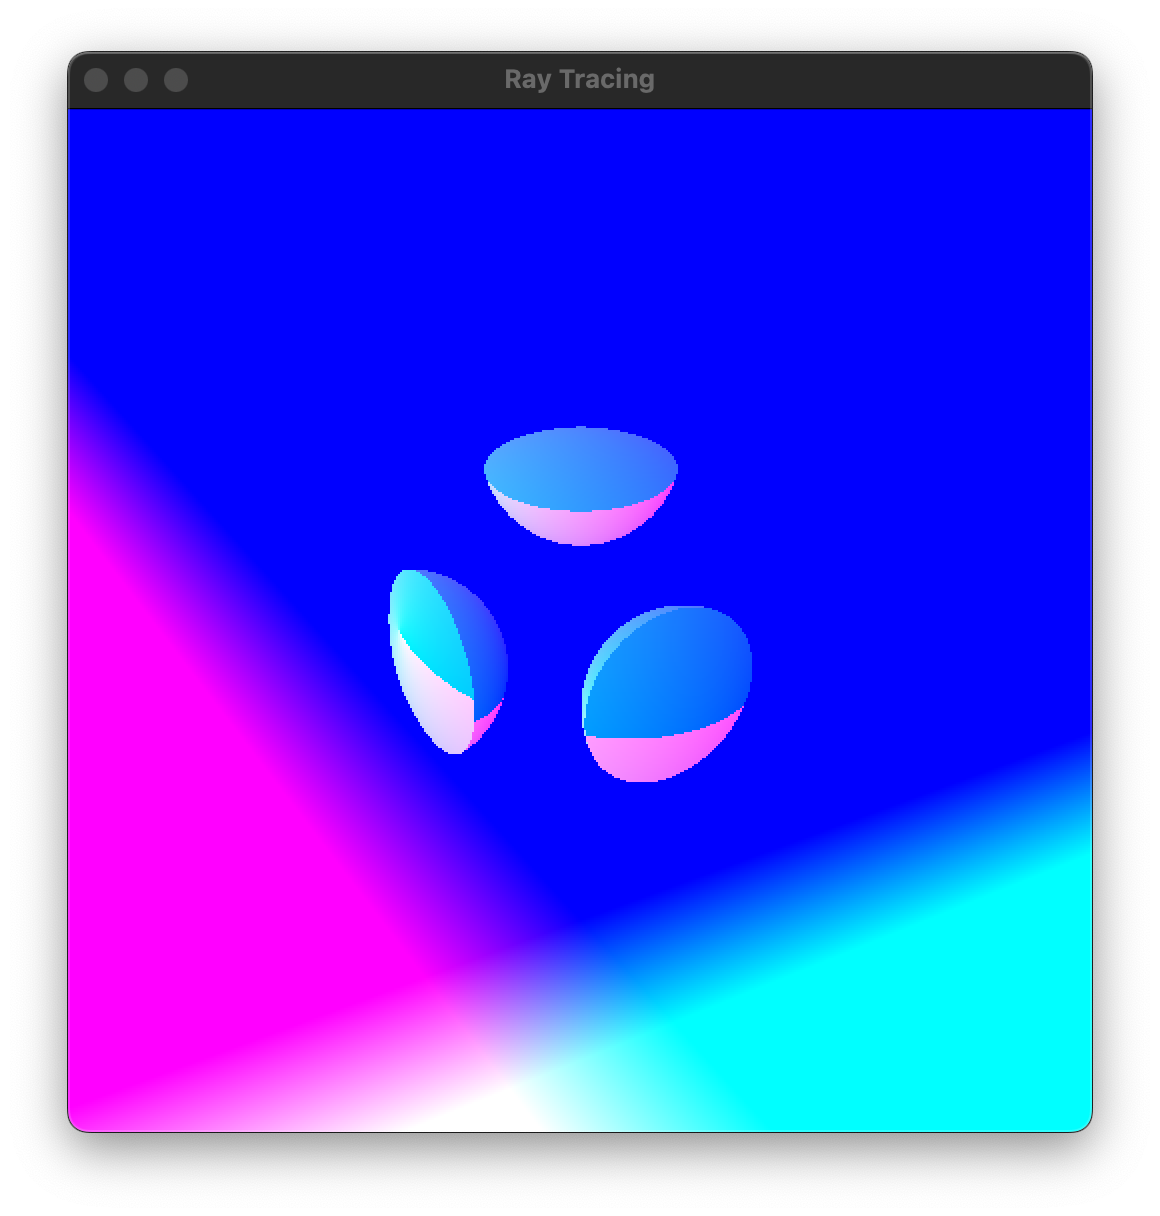
680mainAnd.c: In a copy of 670mainHalf.c, add three more bodies to the body array (for a total of eight). These bodies are ANDs of the large sphere and the three small spheres, respectively. In your getSceneColor function, only the half space and the three ANDs should be rendered. Here's mine:
690mainFrustum.c: Copy and paste your render implementation into this file. Then this program should display a frustum, like the viewing volume of a perspective camera, in its default location, with the near and far planes at distance 1 and 4 respectively. If it doesn't, then debug your earlier code.
690mainFrustum.c: In the time step handler, un-comment the line that causes the frustum to rotate. Test. Because the frustum is colored by world normal vectors, the colors should change as the frustum rotates. If they don't, then debug your earlier code.
We use a body's shape to determine where a ray intersects the body. Then we use the body's material to determine the body's color, reflectivity, etc. at that intersection point. Crucially, a body's shape and material are independent of each other; any shape can be paired with any material.
700ray.c: Study.
700body.c: Study.
700vanilla.c: The word "vanilla" is being used here to mean "standard" or "ordinary". Let's agree that a vanilla material is one with a single texture, that texture gives the diffuse surface color, the specular surface color is white, the shininess is 64, all three components of the Phong lighting model (ambient, diffuse, specular) are present, and there is no mirror reflection or transmission of light through the body. Implement it.
700mainAmbient.c: Study. Edit the two image file names, so that textures of your choosing are loaded. Copy and paste your render and getSceneColor implementations into this file, without changing how the latter chooses its final color. Test. Your imagery should resemble the screenshot below left (geometrically, at least — your untextured coloration might be different).
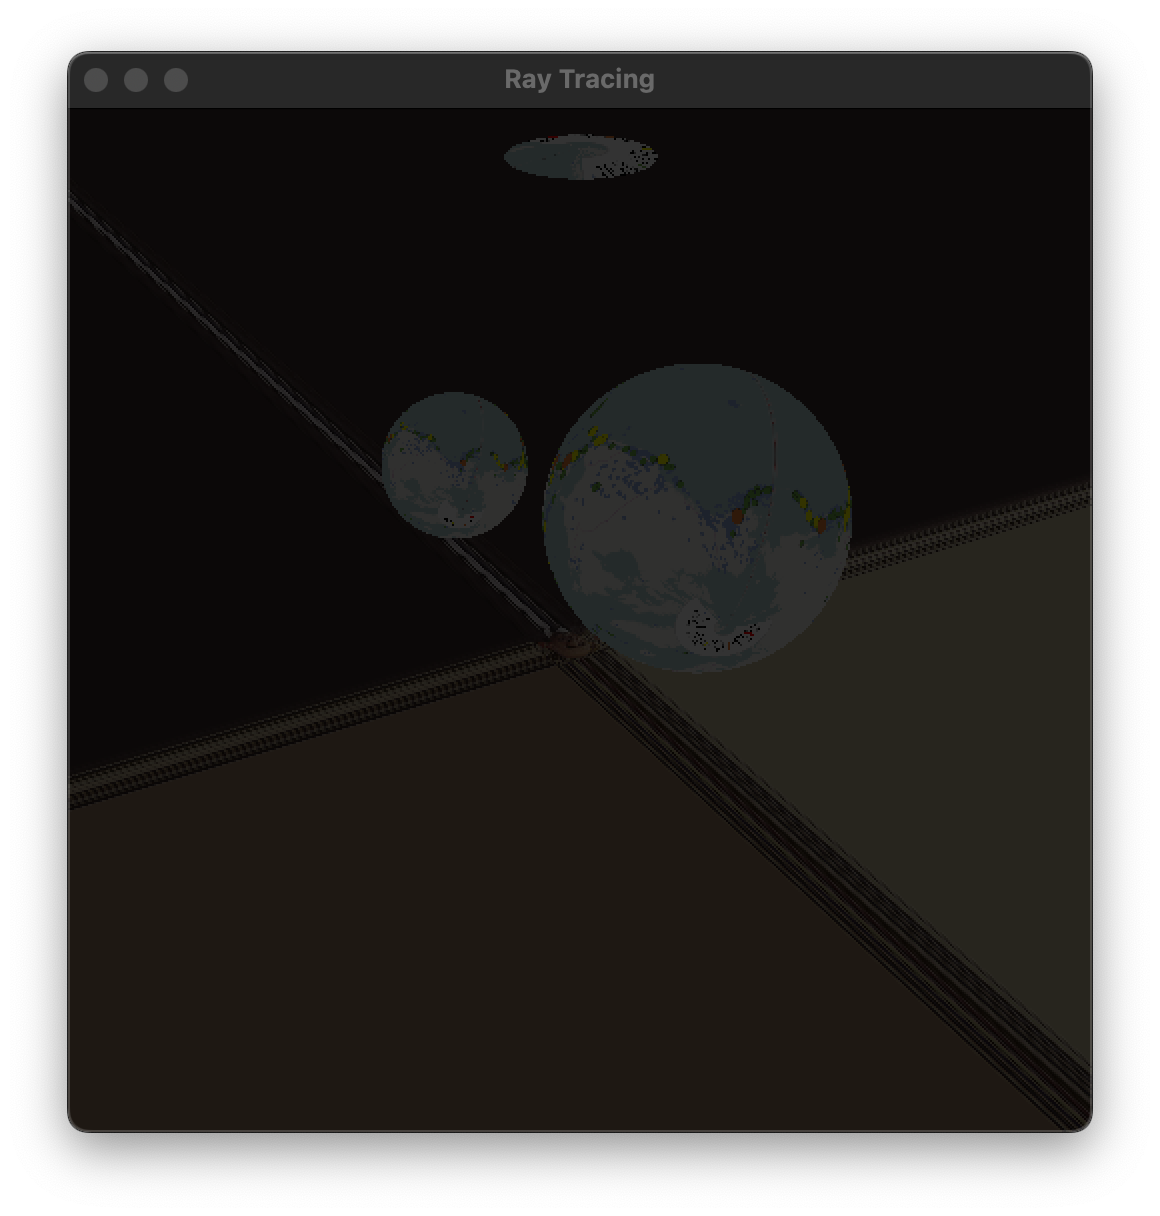
700mainAmbient.c: In the artwork section, make a global variable for the ambient light color cambient, with some reasonable value. In getSceneColor, implement ambient (but not diffuse or specular) lighting as follows. Query the winning body for its material. If that material hasAmbient, then the final color should be the ambient lighting term (cdiffuse * cambient). Otherwise, the final color should be black. Test. Your imagery should resemble the screenshot above right (but with other textures).
In the usual way, clean up and hand in 680and.c, 680mainAnd.c, 700vanilla.c, 700mainAmbient.c, and your texture files.
In earlier versions of CS 311, I asked students to implement another kind of shape: a cylinder, infinitely long in both directions. What shape data does such a cylinder need? How do you compute intersections for such a cylinder? How do you render a cylinder of finite length?
If we were doing constructive solid geometry more thoroughly, then we would implement not just AND (intersection) but also OR (union) and NOT (complement). But we're not doing OR, because in a sense we already have OR. How? And we're not doing NOT, because our particular ray-tracing framework, as we've designed it, can't handle NOT. Why?
In a sense, an AND body has three materials: the AND's material and the materials of the two constituent bodies. Which of these materials end up being used in the rendering? Can you imagine a different design? I can, and moreover I prefer that other design. So why did I go with this design?
Today we re-implement the Phong lighting model, using a light abstraction that is similar to our other abstractions.
710ray.c: Study.
710light.c: Study. Implement lightGetDiffuseSpecular. Be sure to handle hasDiffuse and hasSpecular correctly. Don't assume that we're always using the vanilla material.
710directional.c: Implement the lighting-getter function.
710positional.c: Implement the lighting-getter function.
710mainLighting.c: Make a copy of 700mainAmbient.c. In the artwork section, make an array of LIGHTNUM lights, where LIGHTNUM is 2 for now. Initialize one light to be directional. The code snippet below shows how I set its direction. Initialize the other light to be positional, with a position in the middle of the bodies, so that it lights them from different directions. Don't forget to set the colors and to finalize appropriately. If you test now, then you should have the same imagery, because the lights aren't hooked into the rendering process.
double rot[3][3], axis[3] = {1.0, 0.0, 0.0};
mat3AngleAxisRotation(-M_PI / 4.0, axis, rot);
isoSetRotation(&(lights[0].isometry), rot);
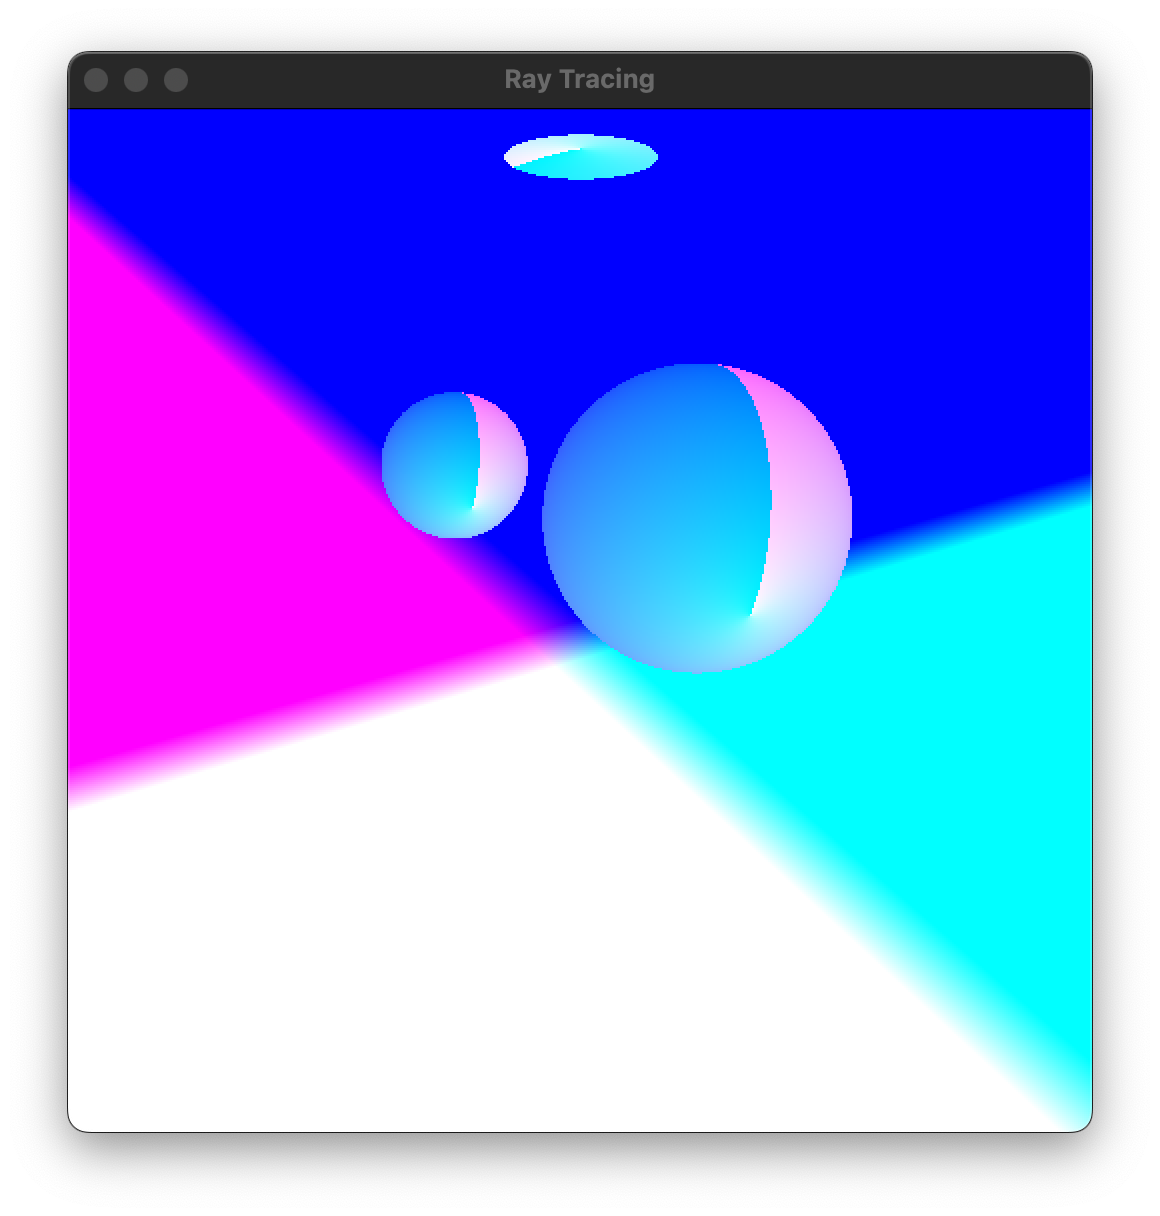
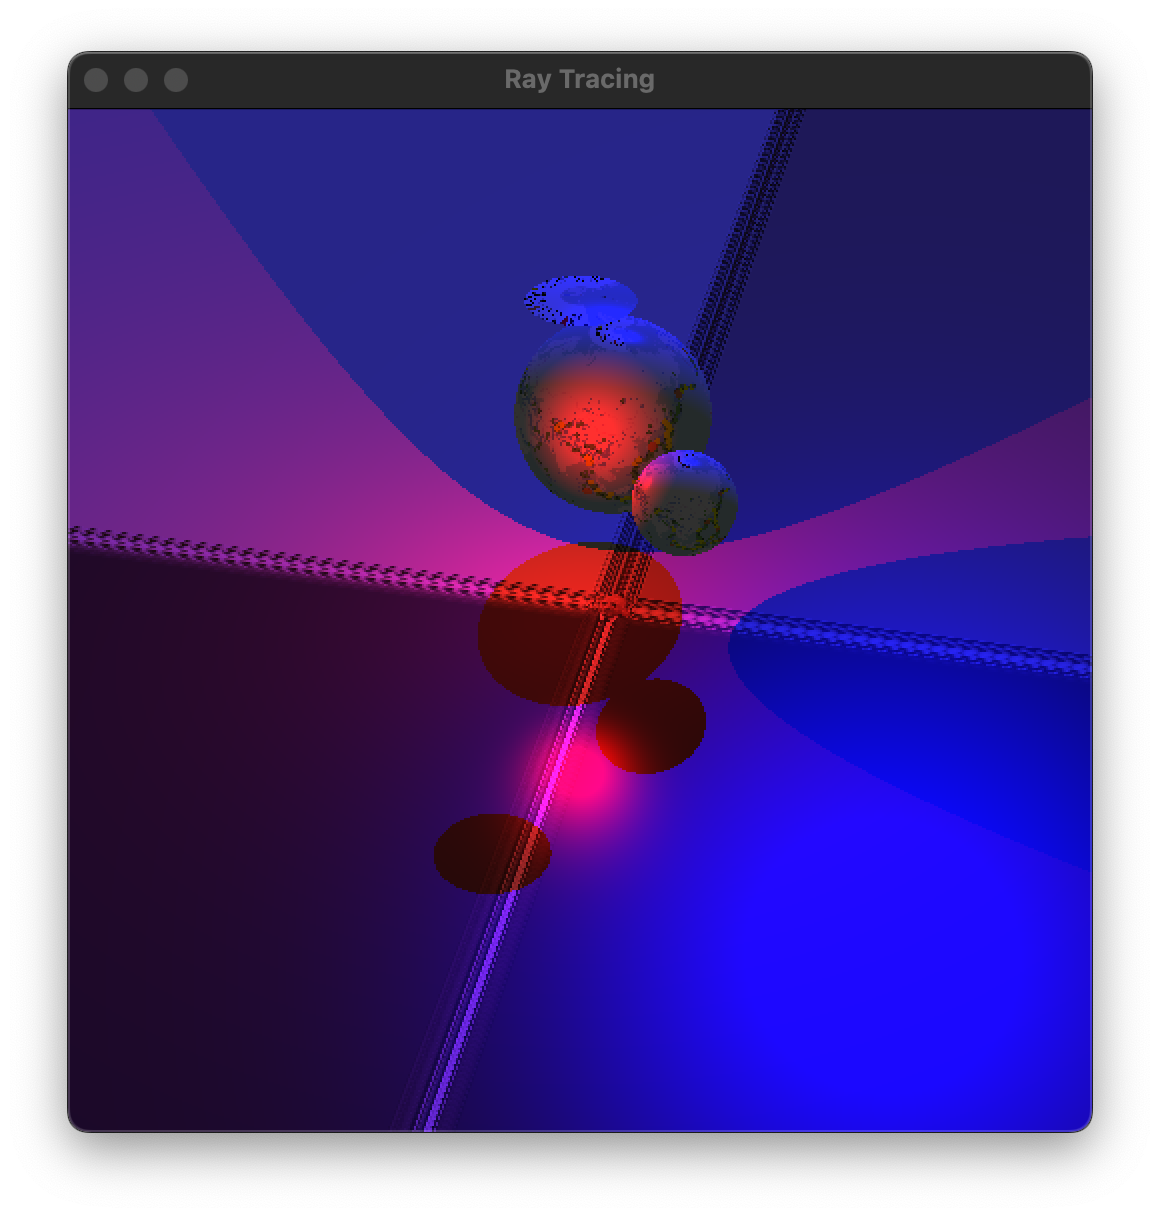
710mainLighting.c: In getSceneColor, after handling the ambient contribution, compute ucamera = -u. Then loop over the LIGHTNUM lights. For each light, call lightGetLighting, call lightGetDiffuseSpecular, and add the diffuse and specular contributions (if any) onto the pixel color. Test. In my screenshot below, the directional light is blue and the positional light is red.
In the usual way, clean up and hand in 710light.c, 710directional.c, 710positional.c, and 710mainLighting.c.
How would you add attenuation to the positional light? Exactly what changes would you make to positional.c? How much would you need to change in main.c?
How would you write a file spot.c (a peer to directional.c and positional.c) that implements a spot light?
Until today, our ray tracing work has focused on basic effects that triangle rasterization also does well. Today, for the first time, we make effects that aren't easy in triangle rasterization: shadows and mirrors. They require casting extra rays into the scene, but our general ray tracing machinery makes that fairly simple.
720light.c: Copy and paste your lightGetDiffuseSpecular implementation. Don't worry about lightGetShadow yet.
720mainShadows.c: Update your calls to lightGetDiffuseSpecular, so that the necessary arguments are passed. Notice that, in our scene, only the last four bodies are rendered. Therefore you pass BODYNUM - 2 and &bodies[2], right? Test. You should have the same imagery as you did earlier.
720light.c: Implement lightGetShadow. I did it by copying and pasting my code from getSceneColor, ripping out everything unnecessary, and polishing what remained. Then, in lightGetDiffuseSpecular, make a single call to lightGetShadow. If it returns 1, then output black.
720mainShadows.c: Unless I'm forgetting something, there aren't any more changes to make. Test. Your bodies should be casting shadows now. Here's my screenshot:
730mirror.c: Implement this material. It hasMirror, with the mirror color coming from the data. It does not have ambient, diffuse, specular, or transmission.
730mainMirrors.c: Make a copy of 720mainShadows.c. There are two spheres in the scene (not counting those used to make the lens). Change the material on one of those spheres from vanilla to mirror, and update the body's material data accordingly. If you run the program now, then that sphere should appear black.
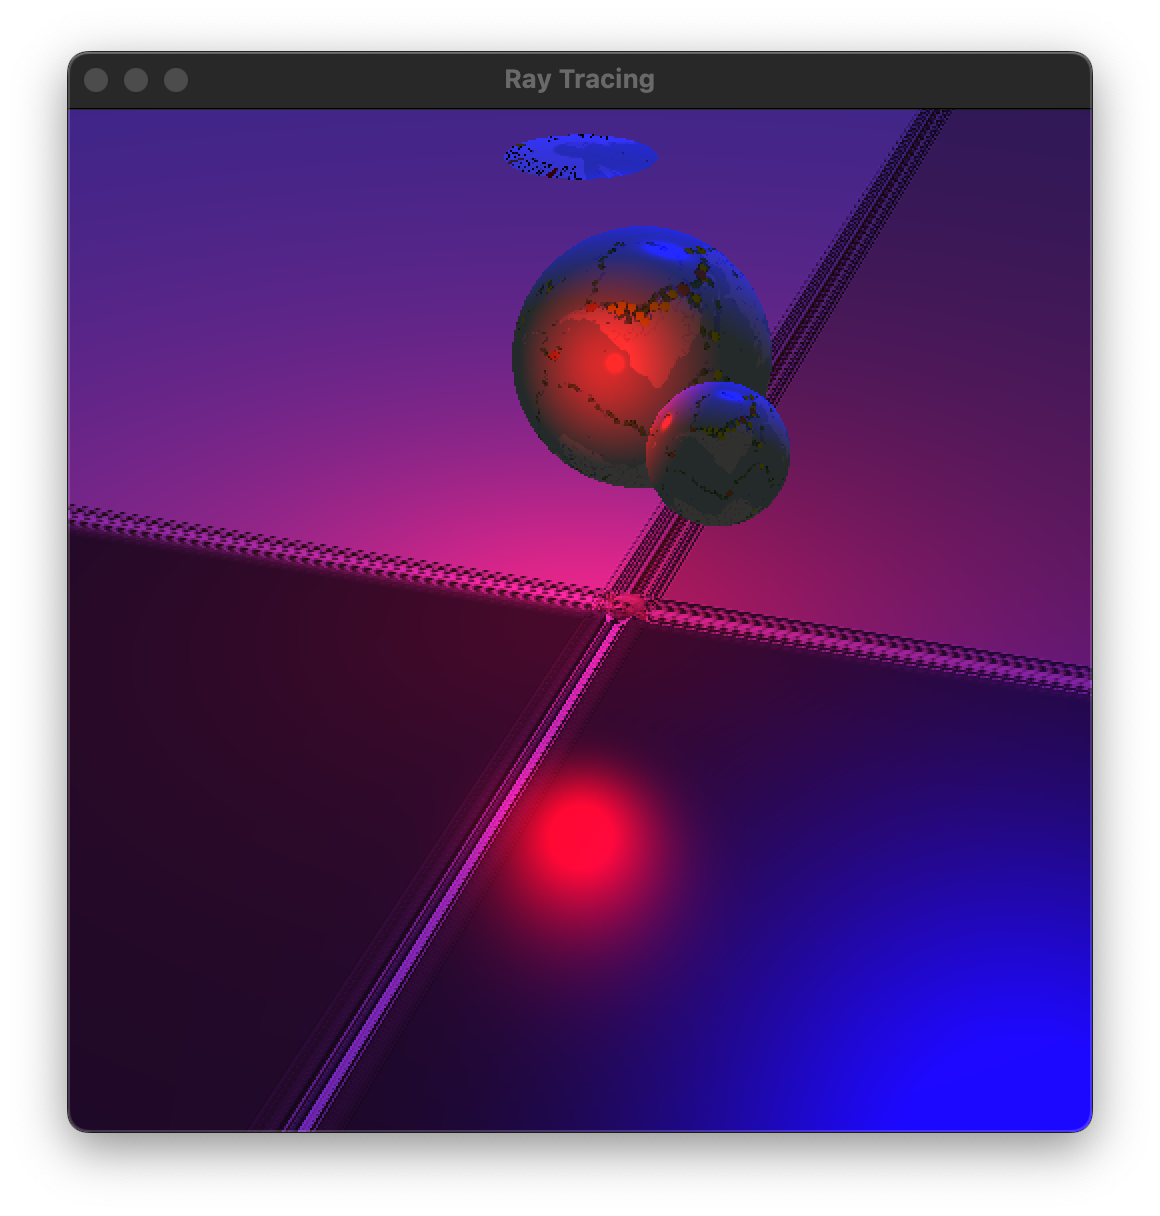
730mainMirrors.c: In getSceneColor, after you've handled ambient light and each actual light's diffuse+specular, incorporate mirroring, as follows. If the material hasMirror, then construct a mirror ray, make a recursive call to getSceneColor, modulate by the material's mirror color, and add that term to the final outgoing color. Infinite recursion isn't possible at this point, so don't worry about it. Test. My screenshot is below left.
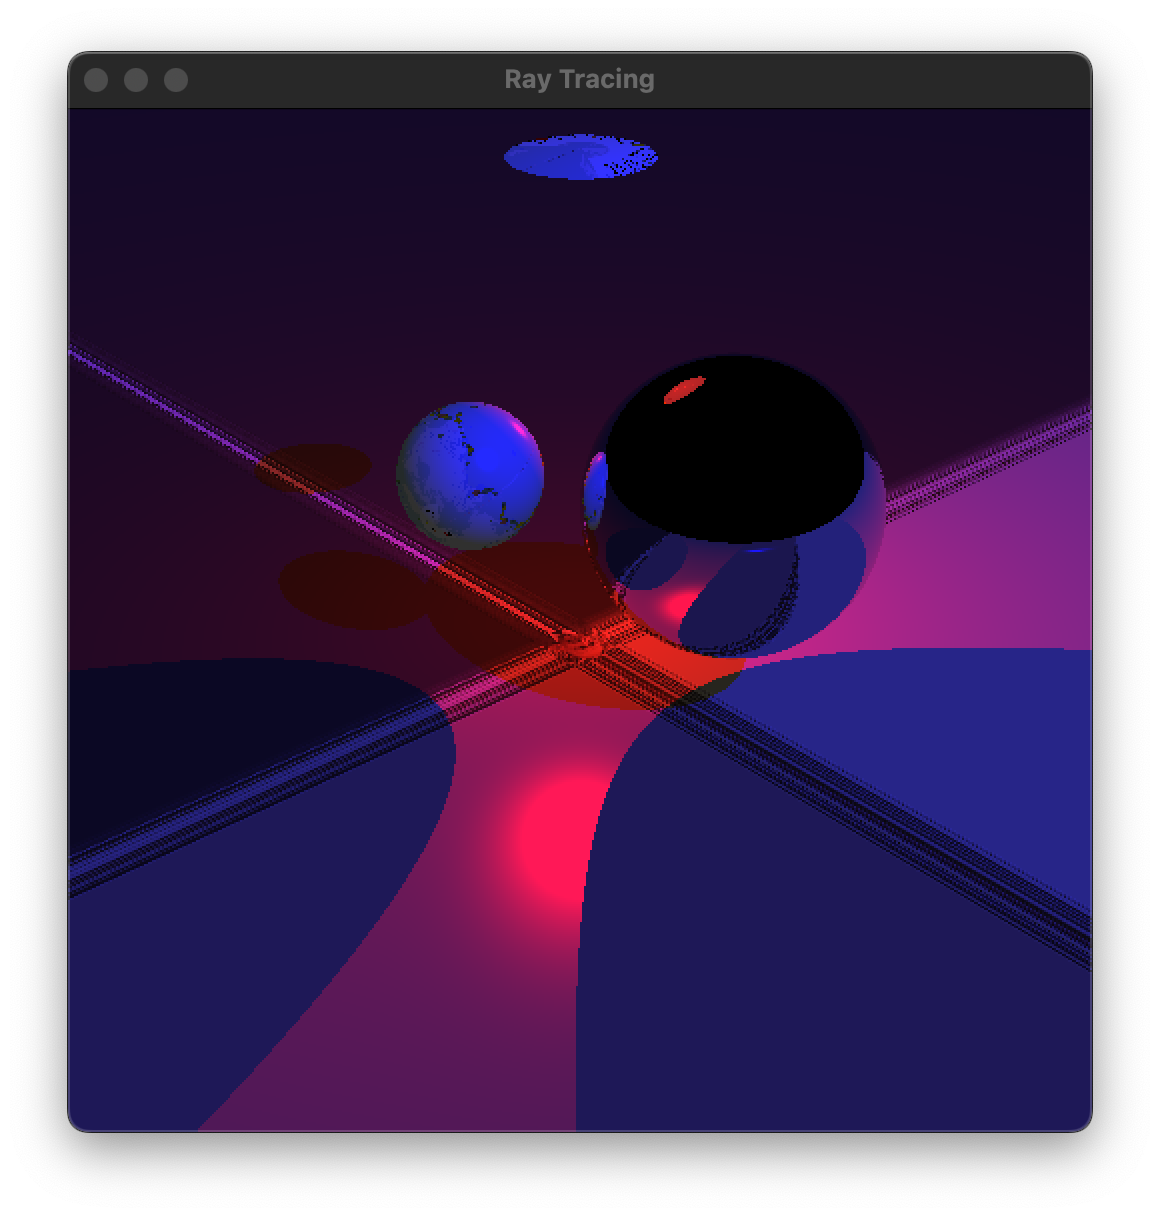
730mainMirrors.c: Let's put a bound on the depth of the recursion. Change the interface for getSceneColor to the one below. If depth is 0, then no recursive calls are allowed; the code should behave as if recursive calls return black, without actually making them. If depth is positive, then any recursive calls are made with depth - 1. In render, if you pass 0 or a positive number for depth, then the mirror sphere should appear black or mirrored, respectively.
/* Given a ray x(t) = p + t * u. Finds the color where that ray hits the scene
(or the background), and outputs that color via the rgb parameter. The depth
parameter is a bound on the number of recursions allowed. If depth is 0, then
mirror and transmission effects are deactivated (or, equivalently, black). */
void getSceneColor(
        const double p[3], const double u[3], int depth, double rgb[3])
In the usual way, clean up and hand in 720light.c, 720mainShadows.c, 730mirror.c, and 730mainMirrors.c.
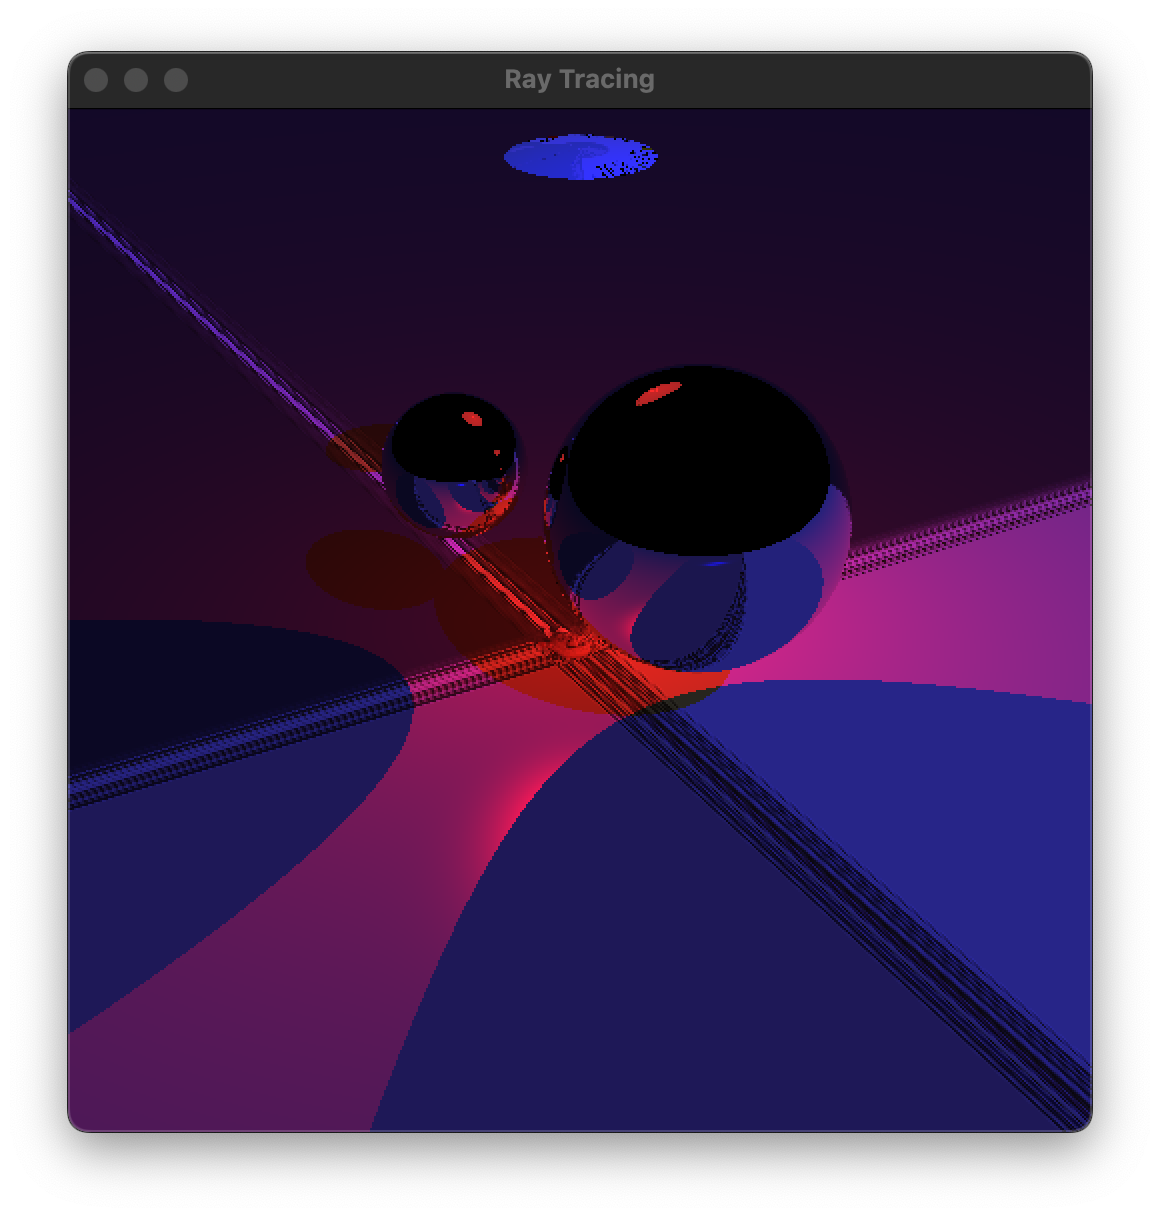
740mainMirrors.c: In a copy of 730mainMirrors.c, make the other floating sphere mirrored too. Now you should be able to discern the difference between setting the initial depth to 1 or 2. My screenshot with initial depth 4 is above right. The red underside of the lens is reflected back and forth between the mirror spheres.
If you do this exercise, then please hand in 740mainMirrors.c.
There is no work to hand in today, because I feel that we've done enough work in this course. For the record, the next features would be like this...
750glass.c: Make this material, with ctransmission and the index of refraction coming from the material data.
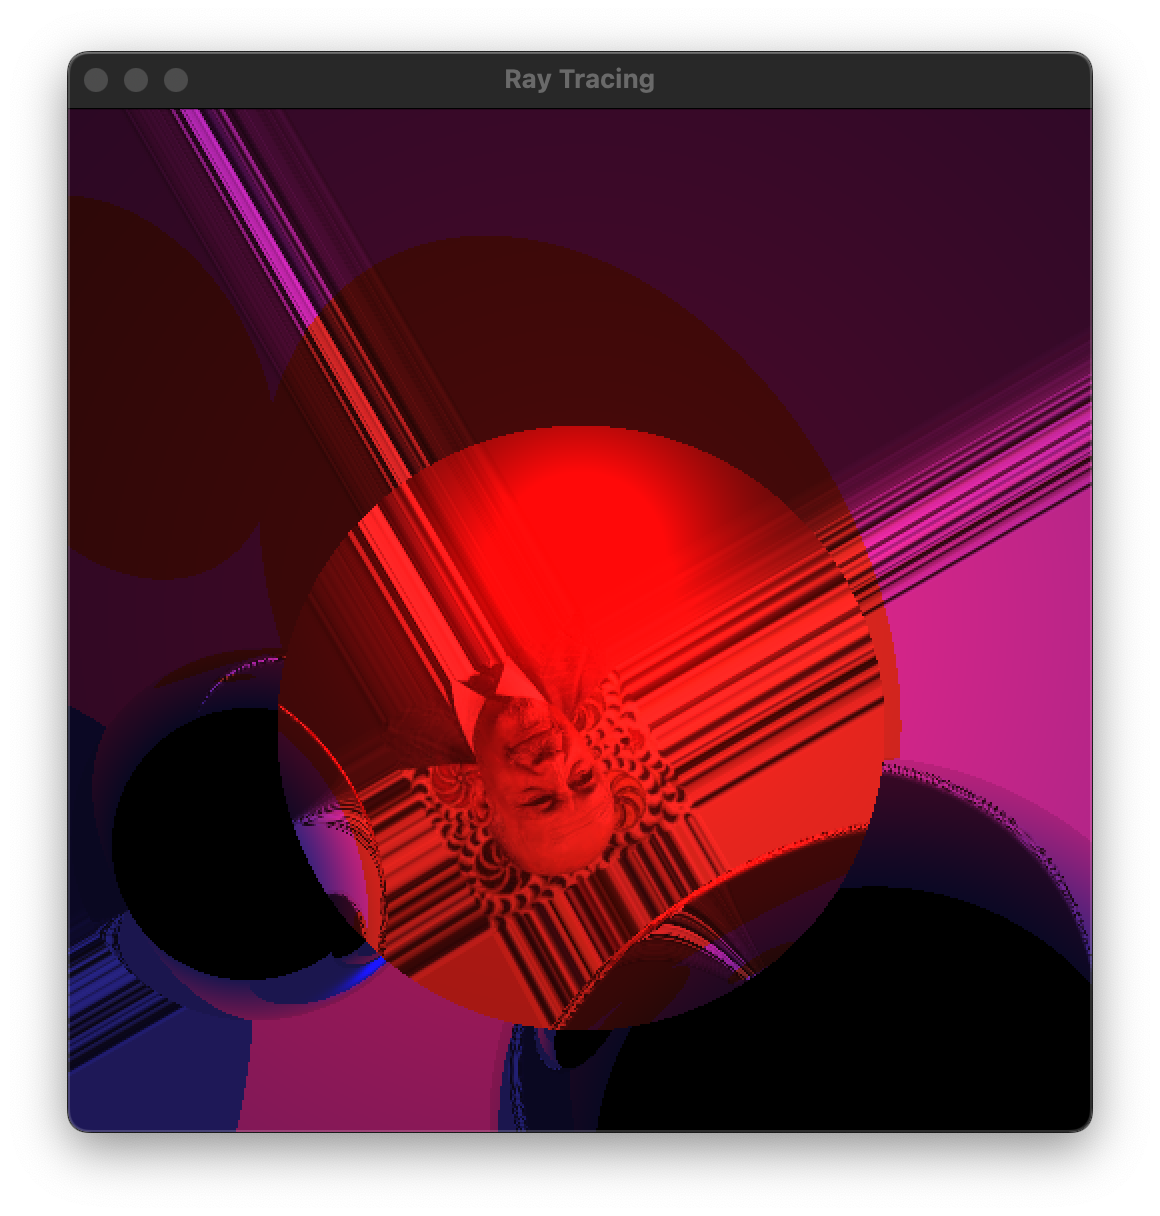
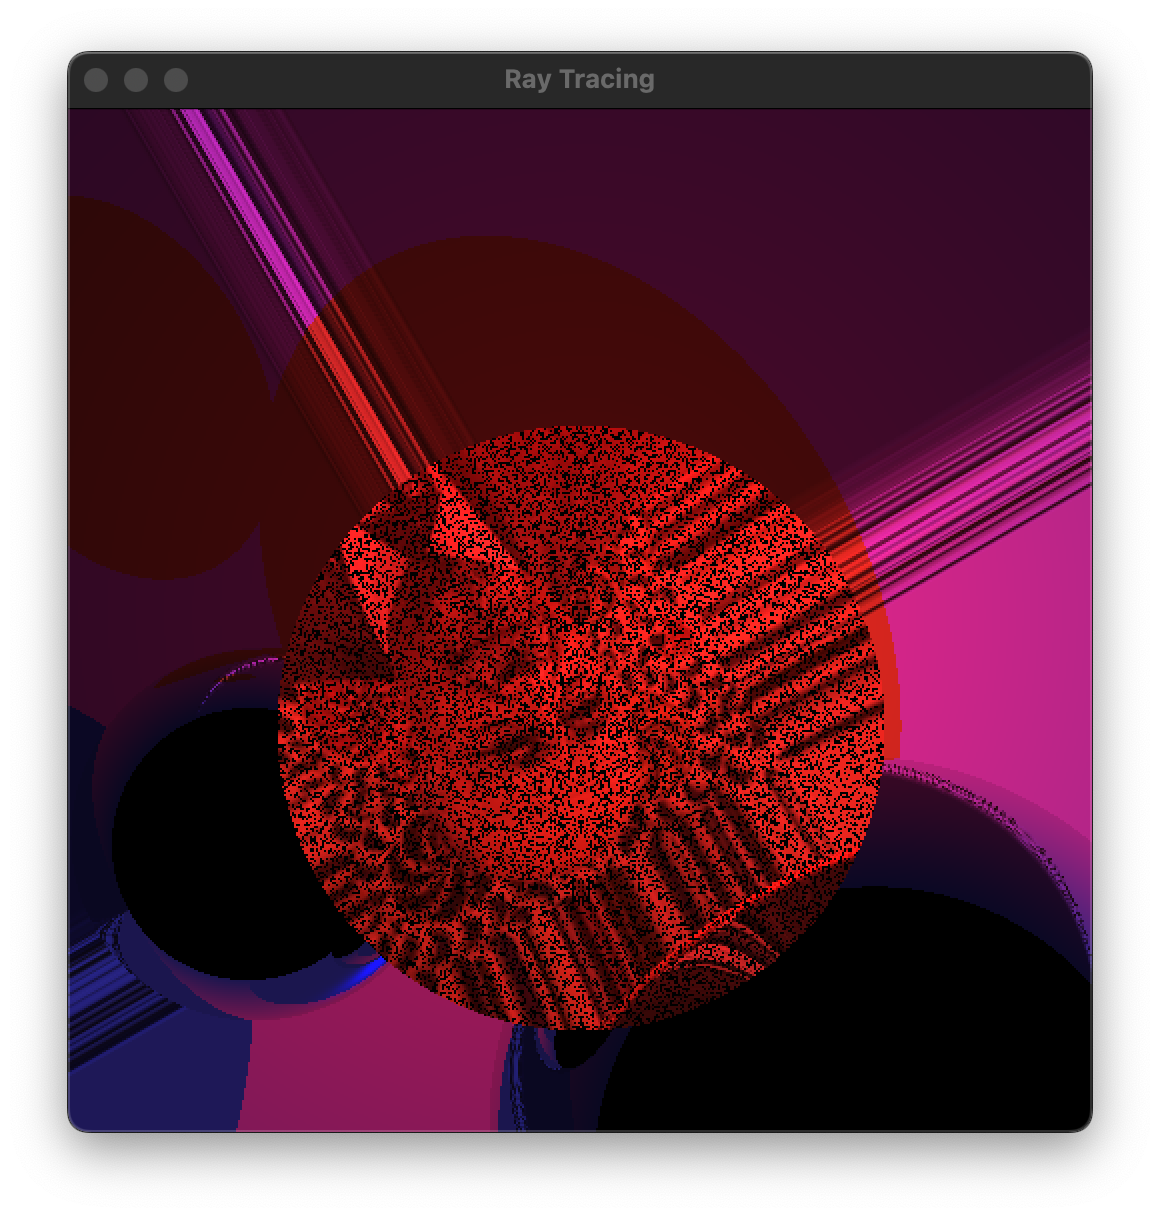
750mainRefraction.c: Make the lens glass, with a white ctransmission and an index of refraction of 1.5, say. Implement refraction. The screenshots below show two versions of my results. The first one is subtly buggy, and the second one is obviously buggy. :(
760mainTranslucency.c: Implement translucency, by modulating the transmitted color by ctransmission raised to the intra-body travel distance. Test with various values of ctransmission.